Ultimate Guide To Replacing Hot Water Cylinder Cost
Welcome to your go-to guide for turning off water from your hot water cylinder, a skill every homeowner should have in their toolkit. Whether you’re facing an emergency leak, performing routine maintenance, or simply curious about how your home’s plumbing works, understanding how to safely manage the water flow to your hot water cylinder is crucial. In this comprehensive guide, we’ll walk you through the process step by step, ensuring you’re well-equipped to handle this task with confidence. From identifying your hot water cylinder type to the tools you’ll need and the safety precautions to take, we’ve got you covered. So, let’s dive in and demystify the process together, making sure you’re prepared for any situation that arises.
To turn off water from your hot water cylinder, first identify if your cylinder is direct (heated by boiler or immersion heaters) or indirect (heated by an external boiler). Then, locate the shut-off valve, which is often near the cylinder or on the pipe leading to it. Ensure safety by turning off the power supply to your hot water system, especially for electrically heated systems. Carefully turn the shut-off valve clockwise to stop the water flow. If your system lacks a specific valve, you may need to turn off the main water supply. After shutting off the valve, check faucets around the house to confirm the water supply to the cylinder has indeed been halted. Regular maintenance and familiarity with your home’s plumbing system are key to preventing emergencies and ensuring the efficient operation of your hot water cylinder.
- Understanding Your Hot Water Cylinder
- Tools And Preparations
- Step-By-Step Guide To Turning Off Water
- What To Do After Turning Off The Water
- Preventive Measures And Regular Maintenance
- FAQs: About How To Turn Off Water From Hot Water Cylinder
- Conclusion
- Contact Our Auckland Shower Installation Specialists Now
Understanding Your Hot Water Cylinder
A hot water cylinder is an essential component of many home heating systems, serving as the reservoir for hot water that is used throughout the house. Whether it’s for showers, doing the dishes, or heating your space, understanding how your hot water cylinder operates can lead to more efficient use and can help in troubleshooting should issues arise.
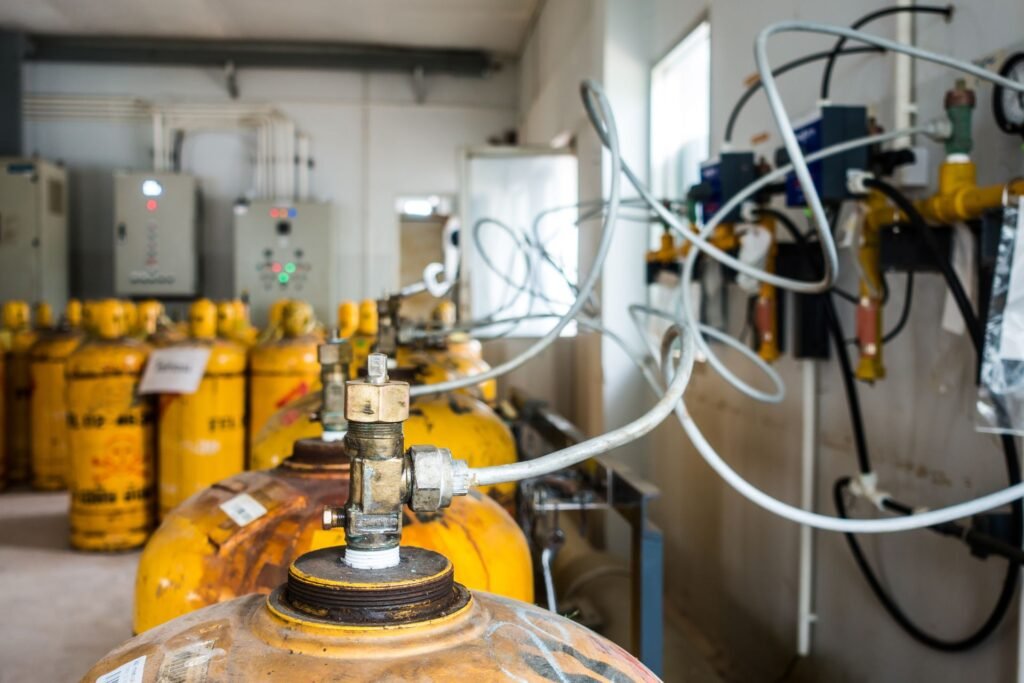
At its core, a hot water cylinder stores hot water that is heated by either a boiler or an electric heating element. The water is kept at a set temperature and is ready to be distributed to taps and appliances when needed. The cylinder is usually made of copper or stainless steel and is insulated to keep water hot for as long as possible.
Types of Hot Water Cylinders
Hot water cylinders can be broadly categorized into two types: vented and unvented.
Vented Hot Water Cylinders are the most common type and are connected to a cold water tank (usually located in the loft). They rely on gravity to move hot water around the home, meaning the pressure can sometimes be lower, especially in taps located far from the cylinder or on higher floors.
Unvented Hot Water Cylinders do not require a cold water tank and are connected directly to the mains water supply. This setup allows for higher pressure and a consistent flow of hot water throughout the house. They often come with built-in safety features such as pressure relief valves to handle the higher pressure.
Identifying which type of cylinder you have is crucial for maintenance and troubleshooting. Vented cylinders are typically easier to spot due to the presence of the cold water storage tank, while unvented cylinders will have a pressure relief valve and a tundish (a funnel-like part that directs water away in case of a valve release).
Importance of Maintenance and Safety Checks
Regular maintenance and safety checks of your hot water cylinder are vital for several reasons:
Efficiency: Over time, sediment and scale can build up inside the cylinder, reducing its efficiency and increasing your energy bills. Regular checks can identify and rectify these issues early on.
Safety: Faulty cylinders or those without proper safety measures can pose risks, including leaks, bursts, or in the case of gas-heated systems, carbon monoxide leaks. Regular safety inspections ensure that safety valves and other mechanisms are functioning correctly.
Longevity: With proper care, hot water cylinders can last many years. Regular maintenance helps prevent corrosion and wear, extending the life of your cylinder and preventing costly replacements.
In conclusion, understanding your hot water cylinder’s operation, knowing how to identify its type, and recognizing the importance of ongoing maintenance are crucial steps in ensuring a safe, efficient, and reliable hot water system in your home. Engaging with a professional for annual checks can help in maintaining the system’s health and ensuring the safety and comfort of your household. This proactive approach not only safeguards your investment but also contributes to a more sustainable and energy-efficient home.

Tools And Preparations
Embarking on a DIY plumbing project can be a rewarding experience, offering both cost savings and the satisfaction of a job well done. However, like any home improvement task, preparation is key to ensuring the project goes smoothly and safely. In this comprehensive guide, we’ll cover the essential tools and safety equipment you’ll need, conduct initial safety checks, and provide a quick primer for locating your hot water cylinder and main water shut-off valve. Whether you’re a seasoned DIY enthusiast or a first-timer ready to tackle plumbing repairs, this guide is designed to equip you with the knowledge you need.
Essential Tools and Safety Equipment
Before diving into any plumbing work, assembling the right tools and safety gear is crucial. Here’s a list of items you should have on hand:
Gloves: Protect your hands from sharp edges and potentially hazardous materials.
Bucket: Useful for catching any water that may spill when you’re working on pipes.
Wrench: An adjustable wrench is a plumber’s best friend for tightening and loosening fittings.
Having these tools and safety equipment readily available not only makes the job easier but also ensures that you’re prepared for any situation that might arise during your plumbing project.
Conducting Initial Safety Checks
Safety should always be your top priority. Before starting your project, take these essential safety steps:
Turning Off the Power Supply: If you’re working near electrical appliances or outlets, ensure the power is off to avoid the risk of electrocution.
Wearing Protective Gear: Always wear protective gear, including gloves and eye protection, to safeguard against injuries.
These precautions help prevent accidents and ensure that your DIY plumbing repairs are conducted in the safest manner possible.
Locating Your Hot Water Cylinder and Main Water Shut-Off Valve
Knowing the location of your hot water cylinder and main water shut-off valve is crucial before beginning any plumbing work. These are typically found in the following places:
Hot Water Cylinder: Often located in a utility closet or the basement, the hot water cylinder is essential for your home’s hot water supply.
Main Water Shut-Off Valve: Usually found near where the main water line enters your house. It could be in the basement, near the water heater, or even outside in warmer climates.
Locating these components ahead of time can save you from scrambling to find them in an emergency or when you need to quickly turn off the water supply to prevent a leak from worsening.
By ensuring you have the right tools and safety equipment, conducting initial safety checks, and familiarizing yourself with the location of key plumbing components, you’ll be well-prepared to tackle any DIY plumbing project with confidence. Remember, preparation is the key to success and safety in any home improvement task.

Step-By-Step Guide To Turning Off Water
Dealing with water issues at home can be daunting, especially when it comes to managing the water supply to your hot water cylinder. Whether you’re facing a maintenance task, an unexpected leak, or preparing for a plumbing project, knowing how to properly turn off your water supply is crucial. This guide provides a detailed, step-by-step walkthrough for shutting off the water to both direct and indirect hot water systems, supplemented by visual aids to ensure clarity. We also cover some common troubleshooting tips for when things don’t go as planned.
Understanding Your Hot Water System
Before diving into the steps, it’s important to understand the type of hot water system you have, as the process can vary slightly.
Direct systems are fed directly from the mains water supply, heating water as needed. These systems are straightforward and typically involve a single shut-off point.
Indirect systems, on the other hand, are connected to a cold water storage tank (usually located in the loft) and heat water within a cylinder. These systems may require you to shut off more than one valve.
Step-by-Step Guide to Turning Off Water
For Direct Hot Water Systems:
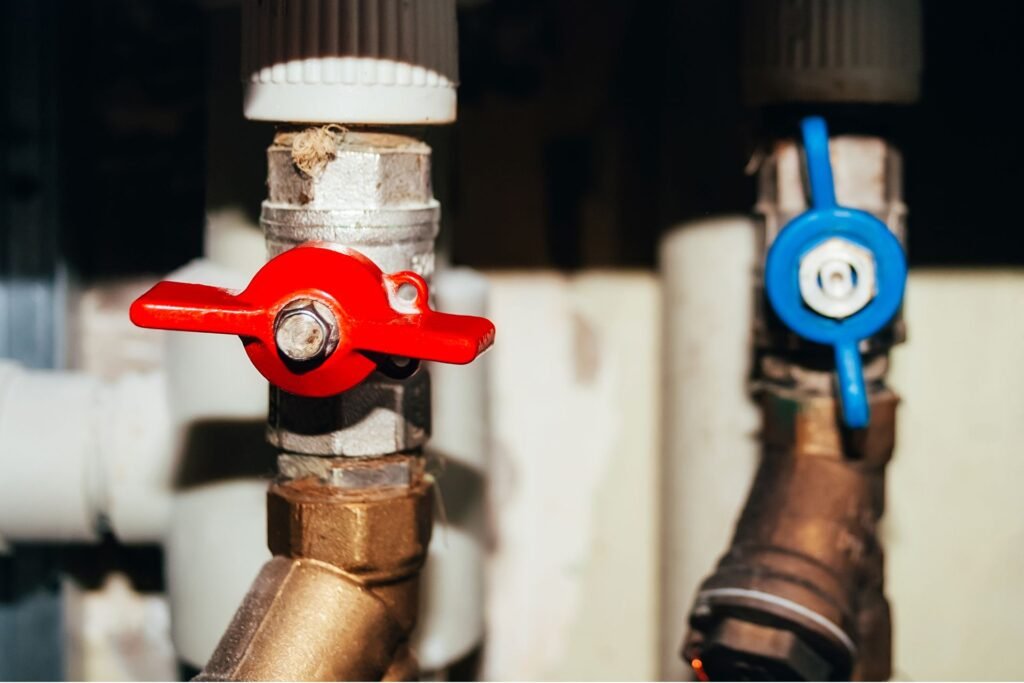
1. Locate the Main Shut-Off Valve: This is usually found where the water supply enters your home. Look for a stopcock or a lever in your kitchen or utility area.
2. Turn Off the Valve: Rotate the valve clockwise until it stops. This should halt the water flow to your home and the hot water cylinder.
3. Check the Faucets: Open the hot water tap in your kitchen or bathroom to ensure the water supply has been fully cut off. The water should stop flowing after a few moments.
For Indirect Hot Water Systems:
1. Locate Both Valves: You’ll need to find the main shut-off valve (as with direct systems) and the valve for the cold water storage tank, usually located in your loft.
2. Turn Off Both Valves: Start with the main shut-off valve by turning it clockwise, then proceed to the tank valve, also turning it clockwise.
3. Drain the System: Open the hot water taps in your home to drain any remaining water from the pipes and the cylinder.
Visual Aids
To assist you further, diagrams or photos corresponding to each type of system and the location of valves can be immensely helpful. Look for these visual cues in the manual of your hot water system or online, specifically designed for your model.
Troubleshooting Tips
Even with clear instructions, you might encounter issues. Here are solutions to common problems:
Valve Won’t Turn: If a valve is stuck, never force it. Try using a lubricant like WD-40 and gently work it back and forth until it loosens.
Leaks After Shutting Off: If you notice a leak after turning off the water, it might indicate that the valve is not fully closed or is faulty. Double-check the valve’s position, and if the issue persists, it might need replacing.
Turning off the water supply to your hot water cylinder doesn’t have to be a challenging task. With the right knowledge and a bit of patience, you can manage your water supply confidently, whether for maintenance, emergencies, or upgrades. Remember to always approach any plumbing task with caution and consult a professional if you’re unsure about any part of the process. By following these steps and tips, you’ll ensure a smooth and stress-free experience while keeping your home safe from water damage.

What To Do After Turning Off The Water
In the wake of an unexpected plumbing issue, knowing the correct steps to take immediately after shutting off your home’s water supply can make a significant difference in mitigating damage and ensuring your home’s safety. Whether you’re dealing with a leak, a burst pipe, or undertaking a plumbing project, turning off the water supply is often the first critical action. However, what you do next is equally important. This comprehensive guide aims to navigate you through the immediate steps to take, how to address potential issues, and the proper procedure for safely turning the water back on.
Immediate Steps to Take After Shutting Off the Water
1. Drain the System if Necessary: After the water supply is turned off, it’s crucial to drain the remaining water from your pipes. This can be done by opening all the faucets in your home, starting with the highest level and working your way down to the lowest point, typically an outdoor hose bib or a basement sink. Draining the system helps prevent any remaining water from causing damage if it were to freeze or leak from the compromised area.
2. Identify and Assess the Issue: With the water safely turned off and the system drained, it’s now time to pinpoint the source of the problem. Inspect your home for any visible signs of leaks, damage to pipes, or other plumbing issues. This step is vital for understanding the severity of the problem and whether it’s something you can fix on your own or if professional assistance is needed.
3. Clean Up Any Water Damage: Water leaks, no matter how small, can lead to significant damage if not promptly addressed. Start by mopping up any standing water and drying out wet areas using towels, fans, or dehumidifiers. This helps prevent mold growth and further water damage to your home’s structure and belongings.
How to Handle Potential Issues
No Water Pressure: After shutting off and then later restoring the water supply, you may notice a lack of water pressure at your faucets. This can often be resolved by running the water for a few minutes to allow air trapped in the pipes to escape. If the problem persists, it could indicate air blockages or sediment buildup in the lines, requiring further investigation.
Accidental Leaks: If you discover a leak after turning the water back on, immediately shut off the main water supply again. It’s important to correctly identify the source of the leak. Sometimes, fittings or connections may need tightening, or in cases of severe damage, parts of the piping may need replacing. Consulting with a professional plumber is advisable if you’re unsure of the fix.
When to Turn the Water Back On and How to Do It Safely
Turning the water supply back on should be done gradually to prevent any sudden pressure changes that could exacerbate existing issues or create new ones. Here’s how to do it safely:
1. Ensure All Repair Work is Complete: Before restoring the water supply, double-check that all repairs are properly carried out and that no open valves could lead to flooding.
2. Slowly Open the Main Water Valve: Gradually turn the main water valve back on to allow water to flow slowly into the pipes. This controlled approach helps to stabilize the pressure and reduces the risk of damage.
3. Check for Leaks and Functionality: As the water begins to flow, carefully monitor for any signs of leaks around repaired areas. Also, verify that water is properly reaching all outlets in your home and that there are no issues with water pressure or drainage.
4. Flush the System: Finally, flush the system by running water through all faucets and toilets. This helps to clear any dislodged sediment or air pockets that may have developed during the shut-off period.
Understanding and following these steps after shutting off your home’s water supply can drastically reduce the risk of further damage and ensure the safety and integrity of your plumbing system. Whether you’re a seasoned DIY enthusiast or a homeowner facing an unexpected plumbing issue, being prepared and knowledgeable about the process is invaluable.

Preventive Measures And Regular Maintenance
Ensuring the longevity and optimal performance of your home’s essential systems hinges on two pivotal strategies: regular maintenance and the implementation of preventive measures. This guide will walk you through actionable tips for maintenance, signs that indicate the need for professional services, and an overview of innovative gadgets designed to prevent issues before they arise.
Regular Maintenance: Your First Line of Defense
Regular maintenance is not just about preventing immediate problems; it’s about safeguarding against future complications, ensuring efficiency, and extending the lifespan of your systems. Here are some actionable tips:
Schedule Regular Inspections: Annual or semi-annual checks of your electrical, plumbing, and HVAC systems can catch minor issues before they escalate.
Clean and Replace Filters: Whether it’s your air conditioner, furnace, or water purifier, clean or replace filters as recommended by the manufacturer to ensure optimal performance.
Drain Water Heaters: Periodically draining your water heater can prevent sediment buildup, which can hamper efficiency and lead to premature failure.
Regular maintenance isn’t just a chore; it’s an investment in the efficiency and longevity of your home’s systems.
Recognizing When to Seek Professional Help
While DIY maintenance can handle many aspects, there are times when professionals need to step in. Here are signs that it’s time to call in the experts:
Persistent Issues: If a problem persists despite your best efforts, it’s time for professional diagnostics.
Safety Concerns: Anything involving electrical work, gas, or major structural concerns warrant professional expertise to avoid safety hazards.
Complex Systems: Modern homes are equipped with sophisticated systems that require specialized knowledge for maintenance and repairs.
Choosing the right service is crucial. Look for licensed, insured professionals with strong reviews and transparent pricing. Don’t hesitate to ask for references or certifications.
Preventive Gadgets and Tools: Enhancing Your Maintenance Strategy
In the digital age, technology offers innovative solutions to prevent common household issues. Consider incorporating these gadgets into your maintenance routine:
Leak Detectors: These devices can alert you to water leaks before they cause significant damage. Ideal for places prone to leaks, like under sinks and near water heaters.
Automatic Shut-Off Valves: In the event of a detected leak, these valves can automatically cut off the water supply, minimizing water damage and saving on costly repairs.
Smart Home Systems: Integrating smart home technology can provide real-time monitoring of your home’s systems, from energy consumption to security, allowing for immediate action when issues are detected.
Implementing these preventive measures, coupled with regular maintenance, can significantly reduce the likelihood of major issues, save money on repairs, and ensure your home operates smoothly.

FAQs: About How To Turn Off Water From Hot Water Cylinder
Conclusion
In wrapping up our discussion on the significance of adeptly handling your hot water cylinder’s water supply, it’s paramount to underscore the pivotal role that proactive management plays in ensuring the longevity and efficiency of your system. By familiarizing yourself with the necessary steps to effectively control the water supply, you’re not only safeguarding your home against potential water damage but also contributing to the overall conservation of this vital resource.
We strongly encourage you to not overlook preventive measures; a little caution goes a long way. Whether it’s regularly practicing the act of turning off the water supply as a precautionary step or reaching out to a seasoned professional for a thorough maintenance check, taking action today can prevent the inconveniences of tomorrow. Let’s make water management a priority, embracing responsibility to ensure peace of mind and the sustained performance of our hot water systems.
Contact Our Auckland Shower Installation Specialists Now
About the Author:
Mike Veail is a recognized digital marketing expert with over 6 years of experience in helping tradespeople and small businesses thrive online. A former quantity surveyor, Mike combines deep industry knowledge with hands-on expertise in SEO and Google Ads. His marketing strategies are tailored to the specific needs of the trades sector, helping businesses increase visibility and generate more leads through proven, ethical methods.
Mike has successfully partnered with numerous companies, establishing a track record of delivering measurable results. His work has been featured across various platforms that showcase his expertise in lead generation and online marketing for the trades sector.
Learn more about Mike's experience and services at https://theleadguy.online or follow him on social media: